
October 22, 2024 · Mandeep Singh
A Step-by-Step Guide to Applying DTF Transfer Powder on Fabrics
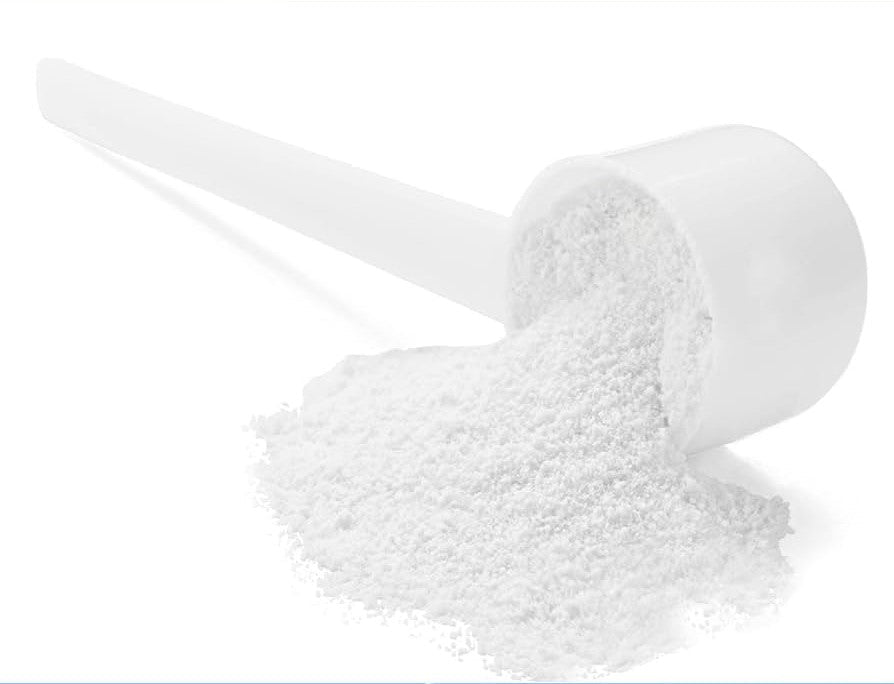
Direct-to-film (DTF) printing produces designs on transfer film for application to suitable garments. DTF transfer powder is a hot-melt adhesive used when making those transfers.
This guide covers shops producing their own transfers. Buy Bulk DTF's finished ready-to-press transfers are already printed, powdered and cured; do not add powder or cure them again. For those finished transfers, follow our pressing instructions: pre-press the garment for 3–5 seconds, press at 300°F (about 150°C) for 15 seconds with firm, even pressure, wait 2–3 seconds and peel hot, then cover the design and press again for 5 seconds. Use 60+ PSI if your press provides a pressure readout, and test the intended blank before production.
Understanding DTF Transfer Powder
DTF transfer powder bonds the printed transfer to the garment during heat press application. Performance depends on compatible ink, film and powder, correct curing and application, and the intended garment. Suitable cotton, polyester and blended apparel are common uses, but heat tolerance, coatings, stretch and care requirements must be tested.
White DTF ink is commonly used as an underbase in the printed transfer. Its coverage and relationship to the color layer depend on the printer, artwork and RIP settings.
Materials You’ll Need
Use materials and equipment that are compatible with one another and follow their manufacturers' instructions:
- DTF Printer
A printer designed for the specified DTF ink system and film.
- PET Film
Compatible printable DTF transfer film.
- DTF Transfer Powder
Adhesive powder specified for the ink, film and intended application.
- White DTF Ink
Use the ink specified for your printer and workflow.
- Heat Press Machine
A press that provides consistent temperature and even pressure.
- T-Shirt or Fabric
A suitable garment or fabric tested for the transfer's heat and application requirements.
- Powder Application Equipment
Use the powder application method specified for your equipment and adhesive.
- Curing Machine
Appropriate curing equipment operated according to the equipment and material manufacturers' directions.
Step-by-Step Process for Applying DTF Transfer Powder
Step 1- Print Your Design on PET Film
Prepare the artwork and use the printer and RIP instructions to print the required color and white layers on the film's designated printable side. Check that the image orientation is correct for transfer to the garment, including any text.
Step 2- Apply DTF Transfer Powder
Apply powder using the method specified for your equipment and adhesive.
- While the printed ink is in the condition required by the powder supplier, coat the printed area evenly.
- Remove excess powder as directed so it does not remain on unprinted areas. Follow the powder's handling instructions and safety data sheet.
Step 3- Cure the Transfer Powder
Curing prepares the powdered print for transfer. There is no single temperature and time suitable for every powder, film and curing machine.
- Use the curing temperature, duration and equipment settings specified by the material and equipment manufacturers.
- Verify cure using the supplier's criteria. Appearance alone should not be used to assume that the adhesive is fully cured.
Step 4- Prepare the Fabric for Transfer
Check that the garment is suitable for the transfer and application settings.
- Use a clean, dry garment laid flat, keeping seams and thick areas from interfering with pressure.
- Pre-press as directed for the garment and transfer to remove moisture and wrinkles.
Step 5- Transfer the Design to the Fabric
Once the transfer is correctly cured and the garment prepared, position the design and apply it.
- Place the film with the printed transfer facing the garment.
- Use the pressing temperature, pressure and time specified for your film, adhesive and garment. Do not substitute a universal setting. Buy Bulk DTF's finished transfers use the separate application process linked above.
Step 6- Peel the Film
Remove the carrier at the specified hot, warm or cold peel condition and timing. Peel instructions belong to the particular film and transfer system; do not assume every film should cool before removal.
Step 7- Post-Press for a Professional Finish
Complete any finishing press specified for the transfer.
- Use the instructed cover sheet, temperature and time, then let the garment cool completely. Test adhesion, appearance and wash performance before a production run.
Troubleshooting Common Issues
If results are inconsistent, review the full process and change one variable at a time within the suppliers' recommended settings.
- Design Not Adhering
Check material compatibility, powder coverage, curing, actual press temperature, even pressure and peel timing. Confirm that the intended garment is suitable for the transfer.
- Faded Colors
Check artwork, ink compatibility, printer and RIP settings, curing, application and garment care. Do not assume increasing pressure alone will correct a color problem.
- Cracking Designs
Check fabric stretch, the transfer system's suitability, curing, application and washing conditions. Test samples before committing to a full run.
Conclusion
Producing DTF transfers requires compatible materials and controlled printing, powdering, curing and application. Document the suppliers' settings and verify results on the intended garments.
If you order Buy Bulk DTF's finished transfers, skip powdering and curing and use our current pressing instructions.